Red Rock Roasters’ Practical Lazy Everyday Cupping Guide
Red Rock Roasters’ Practical Lazy Everyday Cupping Guide
Cupping is the name for the industry standard method of preparing coffee specifically for evaluation.
At Red Rock Roasters’ Albuquerque roastery, we cup for green coffee evaluation (i.e. do we want to buy it?) and to make roasting decisions (i.e. did we do what we meant to do in the roast?). In addition to cupping, we also taste coffee the way our customers prepare it: as filter coffee, espresso, French press, cold brew, etc.
Cupping is standardized global practice, and the parameters are more or less the same no matter where you’re doing it. We use Specialty Coffee Association protocols, but we’ve streamlined them for practicality reasons and find our simplified process just as useful.
If you’ve been intimidated by the technical language of cupping protocols, maybe you’ll find our method a little more approachable. Anyone can learn to cup coffee. All it takes is practice and a little scientific curiosity.

A note: coffee intended for evaluation for green purchase should be light-roasted. More developed (meaning darker) roasts can obscure origin characteristics and make defects harder to detect. But we also cup coffee that we’ve already bought to evaluate our roast profiles, and those samples naturally include all roast levels.
This is how we cup coffee at Red Rock Roasters. It’s based on SCA protocols, but modified slightly for our equipment and convenience:
-
We weigh 9 grams of coffee and then grind it like coarse sea salt. During grinding, we are already making some notes on dry fragrance.
-
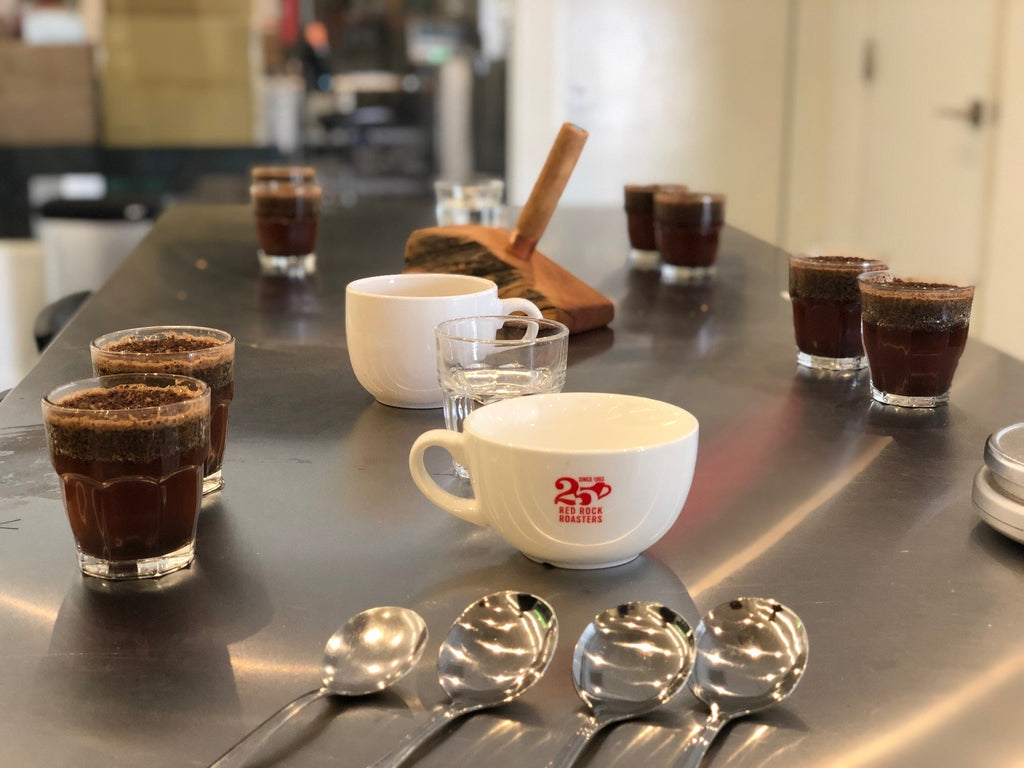
We put the coffee grounds into a 7-ounce rocks glass
-
We pour 160 grams of water fresh off a boil (at our altitude water boils at 202F) over the grounds. That’s enough to fill up the glass and make a crust on top
-
We do the above 3x per sample, because there’s a greater likelihood of detecting problems when more than one sample is used
-
We wait 4 minutes for the coffee to steep and the grounds to sink to the bottom of the glasses. During this time we generally goof off but we also start assessing wet aroma.
-
After 4 minutes, we can break the crust with a spoon by pushing the coffee grounds towards the back of the cup, making sure our noses are really close to the surface of the coffee. This allows us to get a really good noseful of aromatics. We take more notes at this time.
-
After a few more minutes of goofing off, the coffee should be cool enough to drink. A cupper brings a spoonful of coffee to their lips and aspirates it—that is what professionals call the violent slurping required for cupping. The goal is to aerate the liquid and get it sprayed all over your palate.
-
This first pass is often when a note will jump out at a cupper. Believe me when I tell you that if a word pops into your head as you are tasting coffee, that means that flavor is really there—it takes a lot of effort to imagine flavor notes at the same time as your brain is receiving a mouthful of sensory information, so you can feel confident that spontaneous descriptors are to be trusted.
-
We take notes, go back for more coffee, and take more notes. We make sure we have tasted all the samples at different temperature levels, as many attributes change as coffee cools.
-
Sometimes we spittoon. If I have to cup after 11am or so, I will spittoon so that I can sleep at night.

Can I use this cupping method at home?
You totally can. You can also make coffee in a French press (for a very similar brewing method) and drink it out of a cup like a human being. That’s still a way to evaluate coffee. The important thing is to pick a method and stick to it. You can’t compare two different roasts if they’re not brewed with the same method and the same dilution.
We use the SCA’s classic cupping form and the Coffee Taster’s Flavor Wheel. I prefer Counter Culture’s Flavor Wheel as it includes body descriptors and that’s always the hardest thing for me to focus on, but everyone else wanders over to the SCA poster in the cupping room.